Table of Contents
ToggleLiving rooms with awkward corners don’t have to be dead space. Mounting a TV in the corner opens up wall space, improves viewing angles from multiple seating areas, and solves layout challenges that plague rectangular rooms with off-center windows or doorways. Unlike traditional centered mounts, corner installations require specific hardware and a bit more planning, but the payoff is a functional layout that works with your room’s architecture, not against it. This guide covers mount types, design strategies, installation steps, and cable management tactics to help homeowners turn an underused corner into a media hub.
Key Takeaways
- Corner wall mount TV installations maximize space efficiency by reclaiming linear wall space for bookshelves, art, or seating while improving viewing angles from multiple seating areas.
- Full-motion articulating corner mounts ($80–$250) offer 90–180 degree swivel for flexible viewing, while fixed corner mounts ($40–$120) provide a streamlined look for dedicated media walls with consistent seating.
- Mount your TV at seated eye level (typically 42–48 inches from the floor) using lag bolts anchored into studs on both adjoining walls—never rely on drywall anchors for load-bearing support.
- Accent walls in darker shades like charcoal or navy frame the corner TV and reduce eye strain, while floating shelves 12–18 inches above and below the screen create visual balance and storage.
- In-wall cable routing using recessed low-voltage mounting plates provides the cleanest look, though surface-mounted paintable cable raceways offer a practical DIY alternative for hiding wires.
- Locate studs with a stud finder before purchasing your corner wall mount, as misaligned studs may require horizontal blocking between framing or professional assessment for load-bearing concerns.
Why Choose a Corner Wall Mount for Your TV?
Corner TV placement solves problems that flat-wall mounts can’t. In rooms with multiple entry points or large windows dominating one wall, centering a TV often means blocking natural light or creating awkward traffic flow. A corner mount tucks the screen out of the way while maintaining sightlines from sofas, recliners, and dining areas.
Space efficiency is the primary advantage. By using the corner, homeowners reclaim linear wall space for bookshelves, art, or additional seating. This works especially well in open-concept layouts where defining zones without walls requires strategic furniture and media placement.
Viewing angles improve when the TV sits at the intersection of two walls. Articulating corner mounts allow 180-degree swivel, meaning the screen can pivot toward the couch during movie night and rotate toward the kitchen during meal prep. Fixed corner mounts work best when seating is arranged in an L-shape or arc facing the corner.
One trade-off: stud placement. Corner installations often require anchoring into studs on two perpendicular walls, and those studs may not line up with your ideal TV height. Always locate studs with a stud finder before purchasing a mount, if the framing doesn’t cooperate, you may need blocking installed between studs or a professional assessment for load-bearing concerns.
Best Corner TV Mount Types and Hardware Options
Not all corner mounts are created equal. The right choice depends on TV size, viewing habits, and how much adjustment flexibility is needed.
Full-motion articulating corner mounts are the most versatile. These feature dual arms that extend, swivel, and tilt, with rotation ranges from 90 to 180 degrees. Look for mounts rated for your TV’s weight (most 55-inch LEDs weigh 30–40 lbs: 65-inch models run 50–60 lbs) and VESA pattern (the standardized hole spacing on the back of the TV, typically 200x200mm or 400x400mm). Brands like Vogel’s and Mount-It. offer corner-specific articulating mounts with reinforced dual-stud anchoring.
Fixed corner mounts hold the TV at a set angle, usually 45 degrees to the corner, with no tilt or swivel. These are lighter, less expensive, and create a cleaner look since there’s no visible arm hardware. They work well in rooms where seating doesn’t move and the viewing angle is consistent. The downside: no adjustment means you need to get placement exactly right during installation.
Low-profile tilting corner mounts split the difference. They sit closer to the wall than full-motion mounts but allow 10–15 degrees of downward tilt, helpful when the TV sits above eye level. These typically extend 3–6 inches from the corner and support TVs up to 70 inches.
Hardware requirements include lag bolts (typically 3/8-inch diameter, 3-inch length minimum) drilled into wall studs, not drywall anchors. Corner installations demand anchoring into at least two studs, one on each adjoining wall, to distribute the cantilever load. Use a level and painter’s tape to mark pilot holes before drilling. If studs don’t align with your planned height, you’ll need to sister a horizontal 2×4 block between studs to provide a solid anchor point.
Articulating vs. Fixed Corner Mounts
Articulating mounts cost $80–$250 depending on size and weight capacity. They’re ideal for multi-use spaces where the TV serves different seating zones, think living rooms that double as home offices or apartment living areas where furniture rearranges seasonally. The arm mechanism adds 8–20 inches of protrusion when fully extended, so confirm clearance for the screen to swing without hitting adjacent walls or decor.
Fixed mounts run $40–$120 and are best for dedicated media walls where viewing position never changes. Installation is faster (fewer moving parts to assemble and calibrate) and the mount’s minimal profile keeps the TV nearly flush with the corner, reducing visual clutter. But, once it’s up, you’re committed, adjusting height or angle means uninstalling and drilling new holes.
Choose articulating if household members watch from multiple spots or if glare from windows requires occasional angle tweaks. Choose fixed if you want a permanent, streamlined look and seating is always in the same position.
Creative Corner TV Wall Design Ideas
A corner-mounted TV doesn’t have to sit in a blank void. Thoughtful design integrates the screen into the room’s architecture and hides the utilitarian aspects of mounting hardware.
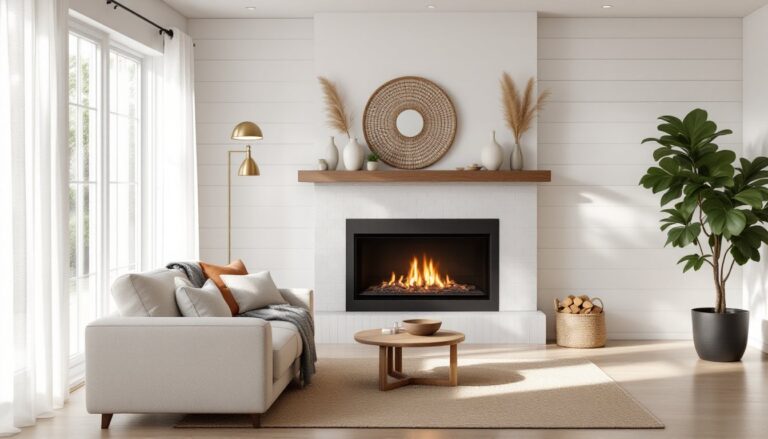
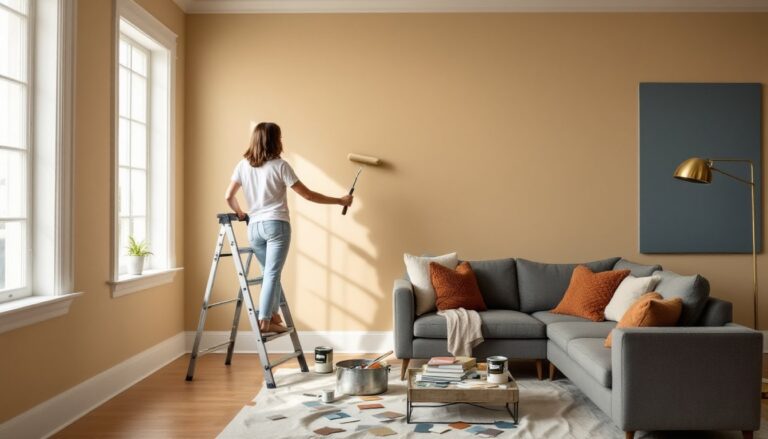
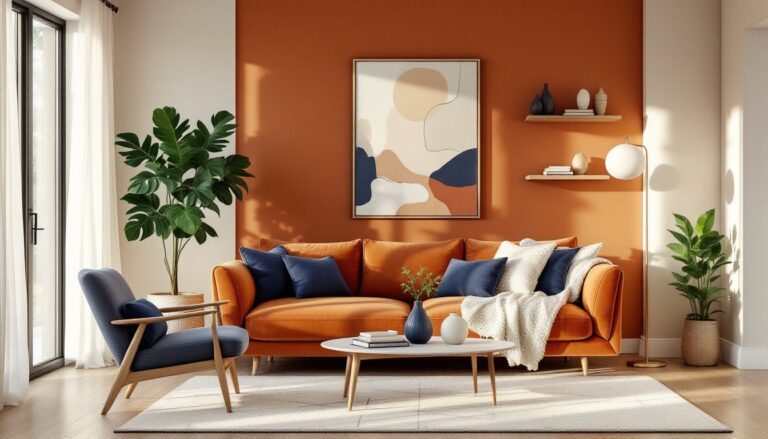
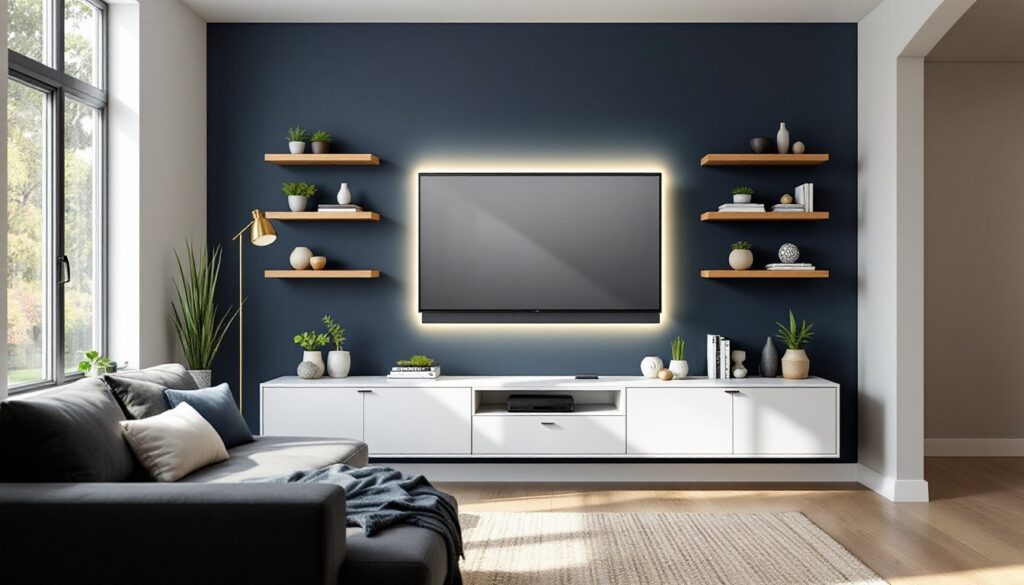
Accent walls help the corner pop. Paint the two adjoining walls in a darker or contrasting shade, charcoal, navy, or deep green work well, to frame the TV and reduce eye strain from bright backgrounds. Consider modern color palettes that complement existing furniture tones. Use low-VOC paint and let walls cure 48 hours before mounting hardware to avoid adhesion issues with anchors.
Floating shelves flanking the corner create visual balance. Install 10–12 inch deep shelves on each adjacent wall, 12–18 inches below and above the screen. These hold speakers, decorative objects, or small plants. Use shelf brackets rated for at least 50 lbs per shelf if storing books or equipment. Shelves should stop 6–8 inches from the corner itself to allow clearance for articulating mount arms.
LED bias lighting mounted behind the TV reduces eye fatigue and adds ambiance. Adhesive-backed LED strips (available in USB-powered or plug-in versions) run along the back edges of the TV. Choose cool white (5000–6500K) for movie watching or RGB color-changing strips for customizable moods. Route power cables through the wall (more on that below) or use a cord cover along the baseboard.
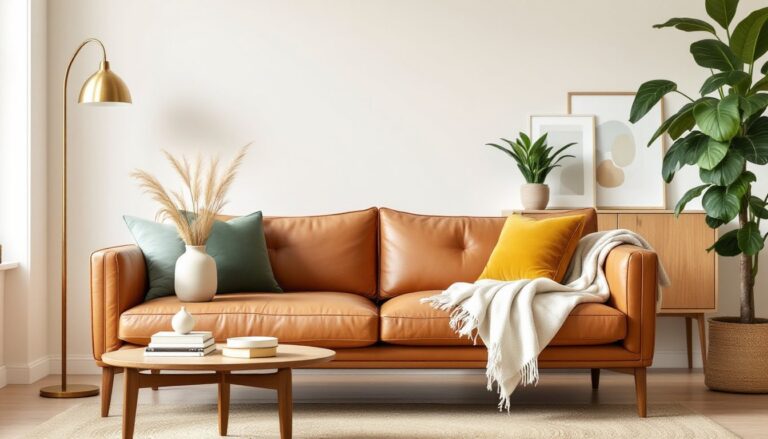
For inspiration on styling living spaces around corner features, professional designers often incorporate symmetry and vertical lines to draw the eye upward, making corners feel intentional rather than improvised.
Built-In Shelving and Floating Cabinets Around Corner TVs
Built-in shelving transforms a corner TV into a media wall system. Frame the corner with floor-to-ceiling cabinets or open cubbies using 3/4-inch plywood or MDF, finished with paint or veneer to match trim. This is an advanced DIY project requiring a miter saw, pocket-hole jig, and finish nailer. Units should be anchored into wall studs at the top and base to prevent tipping, this is especially important if storing components or heavy books.
Floating cabinets below the TV hide cable boxes, gaming consoles, and routers. Wall-hung cabinets (like IKEA Besta or custom builds) mount with a French cleat or heavy-duty brackets, keeping floor space clear. Ensure cabinets have rear cutouts or open backs for ventilation and cable routing. Measure device dimensions before building, most cable boxes are 12–16 inches wide and need 2–3 inches of clearance for heat dissipation.
Corner shelves in triangular or curved profiles maximize the corner footprint. These can be DIY-cut from 1×10 pine boards with 45-degree miter joints or purchased as ready-made corner shelf kits. Install with L-brackets secured into studs. Keep shelves shallow (6–8 inches deep) to avoid overwhelming the space or interfering with the TV’s swing radius on articulating mounts.
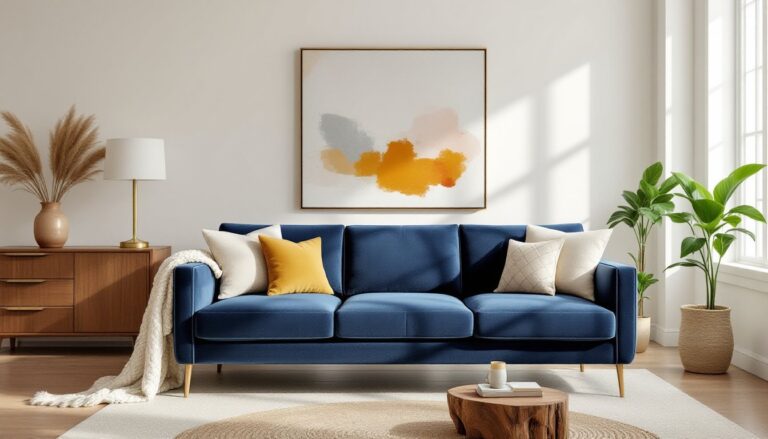
When planning diverse living room arrangements, balance asymmetry carefully, too much built-in on one side of the corner can make the setup feel lopsided. Use matching shelving or decor on both adjacent walls to anchor the composition.
How to Install a Corner Wall Mount TV: Step-by-Step Guide
Corner TV mounting isn’t difficult, but it demands precision. Mistakes here mean redrilling holes and patching drywall.
Tools and materials needed:
- Stud finder (magnetic or electronic)
- Drill with 1/8-inch pilot bit and appropriate driver bit for lag bolts
- Level (24-inch or laser level)
- Measuring tape
- Painter’s tape
- Socket wrench or impact driver
- Safety glasses and gloves
- Wall mount kit (with included hardware)
- Lag bolts (if not included, use 3/8-inch diameter, 3-inch length minimum)
- Optional: drywall anchors (only for non-load-bearing decor, never for TV mounts)
Step 1: Locate studs. Use a stud finder on both walls forming the corner. Mark stud centers with painter’s tape. Standard stud spacing is 16 inches on center, but corners may have extra framing. Confirm stud location by drilling a small test hole in an inconspicuous spot.
Step 2: Determine TV height. The center of the screen should sit at seated eye level, typically 42–48 inches from the floor for standard sofas. Measure from the floor to your desired center point, then subtract half the TV’s height to find the top edge. Mark this height on both walls.
Step 3: Position the mounting bracket. Hold the corner bracket so its center aligns with your height marks. Use a level to ensure it’s plumb on both planes (vertical and horizontal). Mark pilot holes with a pencil through the bracket’s screw holes. Most corner mounts require 4–6 lag bolts total, split between the two walls.
Step 4: Drill pilot holes. Drill 1/8-inch pilot holes at each mark, driving 3 inches deep into studs. This prevents wood splitting and makes lag bolts easier to drive. Vacuum out sawdust with a shop vac.
Step 5: Attach the bracket. Align the bracket with pilot holes. Drive lag bolts with a socket wrench or impact driver, tightening until snug but not over-torqued (which can strip threads in the stud). Don’t rely on drywall anchors, lag bolts into studs are the only code-compliant method for supporting TV weight.
Step 6: Mount the TV. Most brackets use a rail system: attach the rail plate to the back of the TV using bolts that fit your TV’s VESA pattern (consult the TV manual for bolt size, usually M6 or M8). Lift the TV (get a helper for screens over 50 inches) and hook the rail onto the bracket. Secure with any included safety bolts or locking pins.
Step 7: Level and test. Use a level on top of the TV to check for tilt. Adjust the bracket’s tilt screws if present. Test articulation by slowly swiveling the TV through its full range, confirming it doesn’t hit walls or shelving.
Permitting note: In most jurisdictions, mounting a TV doesn’t require a permit unless you’re modifying load-bearing walls or running new electrical circuits. But, if you’re unsure about wall framing (especially in older homes with plaster and lath), consult a structural engineer or licensed contractor.
Cable Management Solutions for Corner Mounted TVs
Exposed cables ruin an otherwise clean corner mount. Proper cable management requires planning before the TV goes up.
In-wall cable routing is the cleanest solution but requires cutting into drywall. Use a cable pass-through kit (also called a recessed low-voltage mounting plate) rated for Class 2 and 3 wiring. These kits include two wall plates, one behind the TV and one near the floor, connected by flexible conduit fished through the wall cavity. Route HDMI, coaxial, and speaker wires through the conduit. Power cables (120V AC) cannot legally run through walls without conduit per NEC code, use a power kit with an in-wall-rated extension or install a new outlet behind the TV. This is a job for a licensed electrician unless you’re comfortable working with electrical boxes and have pulled a permit.
Surface-mounted cable raceways are the DIY-friendly alternative. Paintable PVC or ABS channels (1 inch wide, 0.5 inch deep) adhere to the wall with double-sided tape or small screws. Run cables from the TV down the corner seam and along the baseboard to the outlet and components. Miter the raceway at 45 degrees where it turns the corner for a professional look. Paint the raceway to match wall color after installation.
Cord covers are flexible fabric or neoprene sleeves that bundle cables into a single tube. These work for temporary setups or renters who can’t modify walls, but they’re visible and less tidy than in-wall routing.
Component placement matters. Position cable boxes, gaming consoles, and streaming devices in a nearby cabinet or on a floating shelf within 6–10 feet of the TV to avoid signal degradation on long HDMI runs. For runs over 15 feet, use active HDMI cables (with built-in signal boosters) or fiber-optic HDMI cables rated for 4K at 60Hz.
Wireless HDMI kits eliminate cables between the TV and components, but they cost $150–$300 and can suffer from latency or interference in homes with dense Wi-Fi networks. They’re worth considering in spaces highlighted on design platforms where minimal cable visibility is a priority, but wired connections remain more reliable for gaming or high-bandwidth streaming.
Finally, secure cables with cable clips every 12–18 inches along their run to prevent sagging or snagging. Use adhesive-backed clips for drywall or small finish nails for wood trim. Label each cable with masking tape or a label maker before connecting, this saves frustration during troubleshooting or future upgrades.