Table of Contents
ToggleEmpty walls are missed opportunities. Whether you’re staring at builder-grade beige or just tired of the same old look, your living room walls can do more than hold up the roof. The right decorative treatment adds personality, depth, and function without requiring a contractor or a second mortgage. From gallery walls that showcase your story to textured panels that catch the light just right, these fifteen ideas cover the full spectrum, cosmetic quick wins, weekend DIY builds, and a few that’ll take a Saturday or two. Most require basic tools, patience, and a willingness to measure twice.
Key Takeaways
- Decorative wall ideas for living rooms range from gallery walls and textured panels to accent walls and DIY projects, each offering varying skill levels and budget requirements.
- Gallery walls work best when planned on the floor first, using 2-3 inch spacing between frames and keeping the largest frame near center to anchor the composition.
- Shiplap, board-and-batten, and 3D wall panels add physical texture and depth to flat drywall without requiring structural work, though wood products need 48 hours to acclimate before installation.
- An accent wall painted in deep, saturated colors creates intimacy and mood shifts faster than other treatments, requiring proper prep work, primer, and two coats for professional results.
- Floating shelves and wall-mounted storage solutions provide functional display options when anchored securely into studs, with concealed brackets offering a clean aesthetic for modern living rooms.
- Large-scale art, oversized mirrors, and budget-friendly DIY projects like stenciled patterns, fabric hangings, and dowel grids can transform living room walls without specialized skills or major expenses.
Gallery Wall Arrangements That Make a Statement
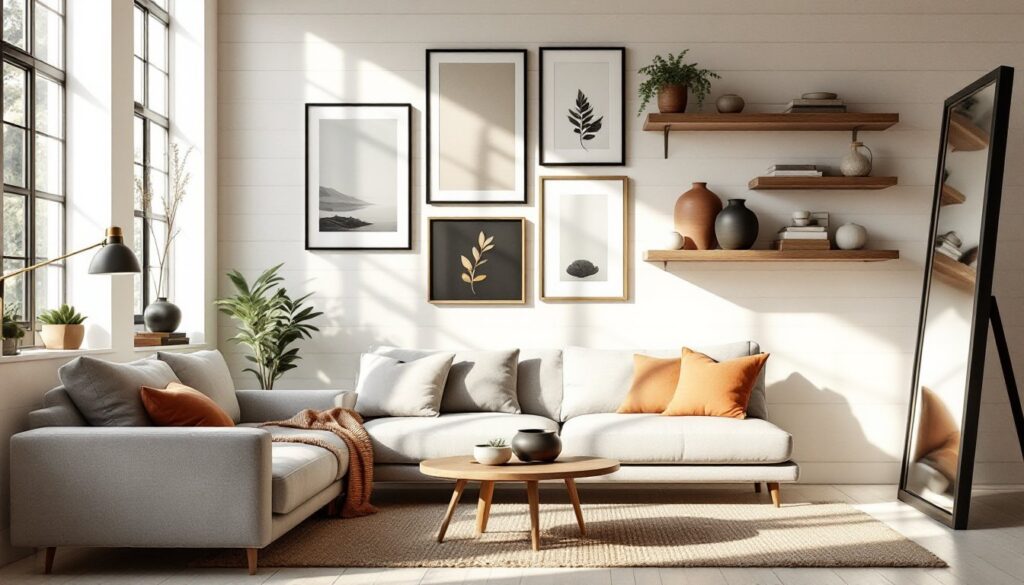
Gallery walls work because they turn clutter into curation. The trick is planning the layout on the floor first, tape off a corresponding rectangle on the wall, arrange frames below, then transfer the layout up.
Start with matching frames in varying sizes (8×10, 11×14, 16×20) for a cohesive look, or mix materials, wood, metal, and acrylic, for eclectic energy. Keep the largest frame near the center or slightly off-center to anchor the composition. Maintain 2-3 inches between frames: any tighter feels cramped, wider reads disconnected.
Use a laser level (or painter’s tape and a 4-foot spirit level) to mark horizontal and vertical guidelines. Picture-hanging strips work for lightweight frames under 5 lbs: anything heavier needs a finish nail into a stud or a drywall anchor rated for the load. For renters, adhesive picture rail systems or tension rods with clips avoid wall damage entirely.
Mix photography, prints, and three-dimensional objects like shadow boxes or small textile pieces for dimension. A well-executed gallery wall in modern living rooms often becomes the focal point, so lighting matters, install an adjustable picture light or position a floor lamp to graze the wall and eliminate glare on glass.
Textured Wall Treatments for Added Dimension
Flat drywall is fine, but adding physical texture changes how a room absorbs and reflects light. Textured treatments, shiplap, board-and-batten, or 3D panels, introduce shadow lines and visual weight. These are cosmetic upgrades, not structural work, but they do add thickness (typically ½” to ¾”), so account for that around outlets, switches, and trim.
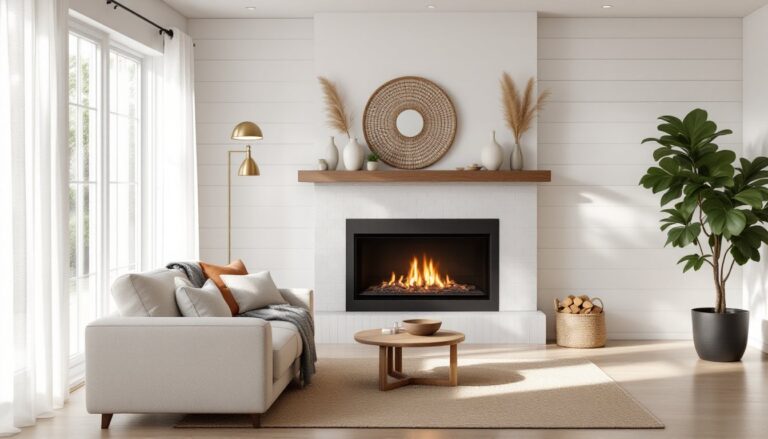
Shiplap, Paneling, and Wood Accent Walls
Shiplap remains popular for good reason: it’s straightforward to install and works in both farmhouse and contemporary spaces. Real shiplap uses rabbeted edges for a tight, overlapping joint: most DIYers use 1×6 or 1×8 pine boards with a nickel spacer between courses for the signature reveal.
Before you start, locate studs with a stud finder and mark them with painter’s tape. Run boards horizontally, starting at the bottom and working up. Use a pneumatic brad nailer (18-gauge, 1¼” brads) for speed, or hand-drive finish nails if you’re patient. Pre-drill near board ends to prevent splitting. Fill nail holes with wood filler, sand with 120-grit, prime, and paint with a satin or eggshell finish, flat shows every ding.
Board-and-batten is a classic vertical treatment: wide boards (1×4 or 1×6 “battens”) over a flat backing, often spaced 12-16 inches on center. Paint the wall and battens the same color for a monochromatic look, or contrast the battens for drama. This technique works well for neutral living rooms seeking subtle texture without bold color shifts.
3D wall panels made from MDF, PVC, or plant fiber offer geometric patterns (waves, diamonds, hexagons) and install with panel adhesive and a few brad nails for insurance. Cut panels with a fine-tooth circular saw blade: MDF kicks up dust, so wear a dust mask rated N95 or better.
All wood products acclimate for 48 hours in the installation room before fastening. Skipping this step invites gaps as the material adjusts to ambient humidity. If the wall isn’t load-bearing and you’re only adding cosmetic paneling, no permit is required. Touch base with your local building department if you’re unsure.
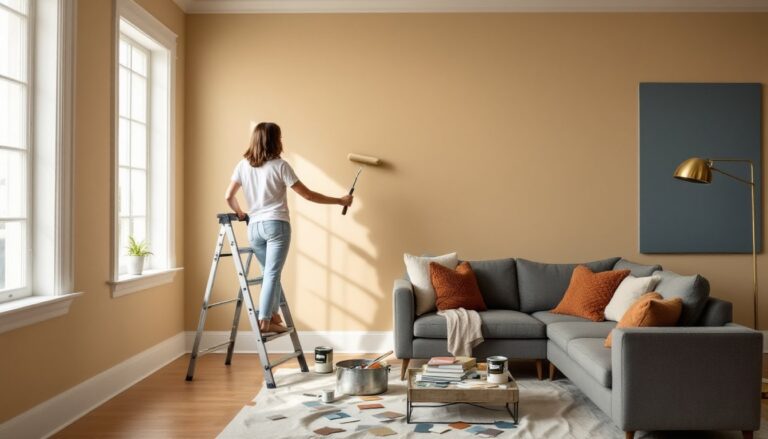
Bold Accent Walls with Paint and Wallpaper
An accent wall is the fastest way to shift a room’s mood, one gallon of paint covers roughly 400 square feet, so a single wall in a standard living room uses less than a quart if you’re smart about it.
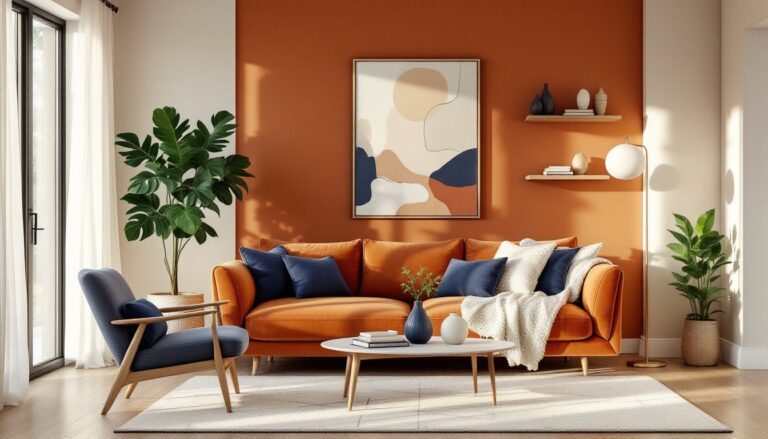
Choose the wall that draws the eye first: usually the one behind the sofa or the fireplace wall. Deep, saturated colors (navy, charcoal, terracotta, forest green) create intimacy: lighter tones open the space. Paint in natural light to see true color, artificial LED bulbs skew warm or cool depending on their Kelvin rating.
Prep work is non-negotiable. Fill nail holes and dings with lightweight spackle, sand smooth with 120-grit, wipe with a tack cloth, then prime if you’re going dark over light or covering stains. Use painter’s tape along trim and ceiling, press the edge down with a putty knife to prevent bleed. Roll on two coats with a ½” nap roller for smooth walls, ¾” for textured. Cut in edges with a 2½” angled brush.
Peel-and-stick wallpaper has come a long way. Modern options from established manufacturers use repositionable adhesive that’s renter-friendly and easier to align than traditional paste. Measure wall width and height, add 2 inches to each panel for overlap, and start from a plumb vertical line, check it with a level or a chalk line. Smooth out bubbles with a plastic smoother or credit card, working from center to edges. A seam roller flattens edges without crushing the pattern.
For traditional paste wallpaper, the process requires a paint color strategy that complements the pattern and more patience. Book the paper (fold paste-to-paste without creasing), let it relax per manufacturer specs, then hang and smooth. Matching patterns at seams demands attention, so buy 10-15% extra.
Safety note: Wallpaper paste can off-gas VOCs. Ventilate well and wear gloves if you have sensitive skin.
Functional Wall Decor: Shelving and Storage Solutions
Floating shelves do double duty, display and storage, without the visual bulk of bookcases. They come in two basic styles: solid wood or veneered MDF with concealed brackets, or metal brackets with separate shelves.
For a clean look, choose concealed bracket shelves. These use steel rods that insert into the shelf core and anchor into studs. A 36-inch shelf holding books or ceramics (up to 50 lbs) needs brackets anchored into at least two studs: if studs don’t align, use heavy-duty toggle bolts rated for 50+ lbs each in drywall. Mark hole locations with a level, drill pilot holes, tap in the rods (a rubber mallet helps), slide on the shelf, and secure with set screws underneath.
Open shelving made from 2×8 or 2×10 lumber and industrial pipe brackets suits spaces inspired by open plan living room layouts. Cut lumber to length, sand edges with 120-grit, stain or seal with polyurethane, then mount black iron floor flanges to studs with 3-inch wood screws. Screw the vertical pipes into the flanges, add elbow joints, and screw on the horizontal pipes. Rest the shelf on the pipes and secure from below with short screws through pre-drilled countersinks.
Pegboard isn’t just for garages. Paint it a bold color, frame it with 1×2 trim, and mount it with ¾” spacers behind so pegs have clearance. Use it for rotating art displays, hats, plants in hanging pots, or small shelves clipped into the holes.
Always use a stud finder and mark stud locations. Shelves that aren’t anchored properly will sag or fail, especially under dynamic loads like kids pulling on them. Wear safety glasses when drilling overhead to keep dust and debris out of your eyes.
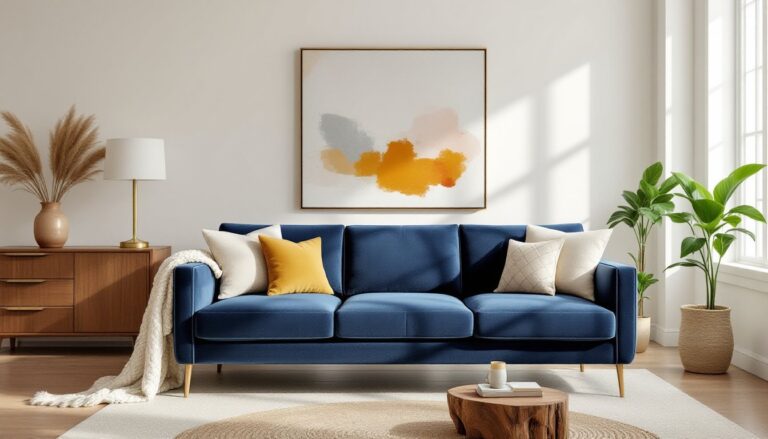
Large-Scale Art and Mirrors for Visual Impact
Large-scale art, anything 30×40 inches or bigger, commands attention and can unify a color palette. Canvas prints are lighter and easier to hang than framed pieces: a 40×60 canvas on stretcher bars weighs 8-12 lbs and can hang from two D-rings and a heavy-duty picture hanger.
For heavier framed pieces (20+ lbs), use two-point hanging: screw D-rings into the frame’s vertical sides about a third of the way down from the top, run picture wire between them (rated for double the frame weight), and hang from two wall hooks spaced to match the wire span under tension. This distributes load and keeps the piece level.
When hanging art above a sofa, the center of the piece should sit 57-60 inches from the floor, eye level for most adults. If the sofa back is tall, aim for 6-8 inches above it so the art doesn’t float.
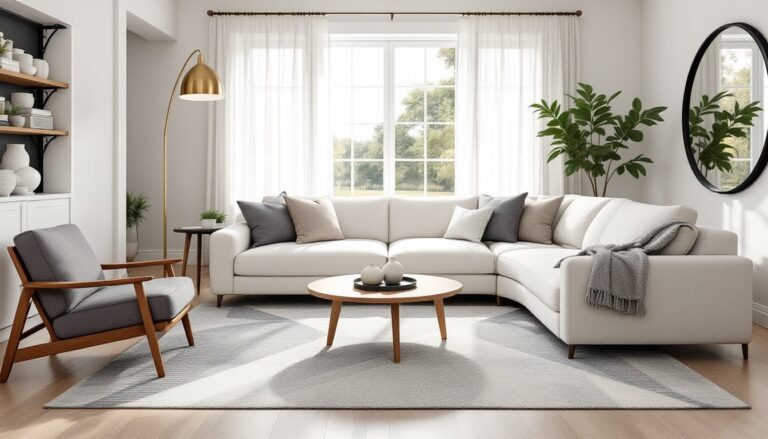
Oversized mirrors brighten spaces and create depth. A full-length leaner mirror (65-70 inches tall) can rest against the wall with a cleat or L-brackets at the top to prevent tipping, critical if you have kids or pets. Wall-mounted mirrors over 20 lbs need mirror clips or French cleats.
French cleats are the gold standard for heavy objects: rip a 1×4 at a 45-degree bevel, screw one half to the wall (into studs), and attach the matching half to the back of the mirror or frame. The interlocking bevels hold hundreds of pounds and make leveling easy. Cut the bevel on a table saw or miter saw: a circular saw works but requires a clamped straightedge guide.
According to design experts at House Beautiful, oversized mirrors in smaller living rooms visually double the space when positioned opposite windows.
Creative DIY Wall Projects on a Budget
DIY wall projects stretch a modest budget and give you full creative control. Here are three proven ideas that deliver results without specialty skills.
Stenciled accent patterns: Buy a large wall stencil (Moroccan, geometric, or botanical), tape it level, and roll on interior paint with a dense foam roller, less paint and light pressure prevent bleed-under. Work in sections, let each dry, reposition, and repeat. A 10×10-foot wall takes 3-4 hours. Stenciling is ideal for renters who want impact but can paint over it when they leave.
Painted murals or abstract shapes: Use painter’s tape to mask off color-block sections, then fill with contrasting paint colors. You don’t need artistic talent, geometric shapes, half-circles, or mountain silhouettes look intentional and modern. Ideas from Homedit suggest using low-tack tape and removing it while the paint is slightly damp to avoid pulling off the base coat.
Fabric wall hangings or tapestries: Stretch decorator fabric over artist’s stretcher bars (available at craft stores in modular sizes) and staple the edges to the back with a staple gun. Instant textile art for under $30. Alternatively, hang a large woven tapestry or kilim rug from a stained wood dowel suspended by leather straps, boho-chic and no power tools required. For wall ideas that align with stylish living rooms, mixing textures like woven fiber with painted or paneled walls adds layered interest.
Wooden dowel grid or pegboard display: Cut ¾” hardwood dowels to equal lengths, drill perpendicular holes in two vertical support boards, insert dowels, and mount the assembly to the wall. Hang plants, prints in clipboards, or string lights across the grid. Total material cost: under $40.
Safety reminder: Always use a dust mask when cutting or sanding wood, and wear safety glasses when operating saws or nailers. Keep your work area ventilated if using adhesives or finishes with VOCs.